The first job is the preparation of the neck and the body. I bought four packs of wet and dry from Tool Station each containing 10 sheets in 180, 400, 600 and 1200 grit. I already had a sanding block so the total cost there was about £10. Four hours later I was happy that I’d smoothed the body and the neck to a more than adequate finish. There’s no rocket science involved, just elbow grease. By the occasional use of a damp cloth to raise the grain, the dust raised was minimal and earned no hostile comment from my wife. I used the small veneer off-cut (a bonus included by UK Music Supplies with kits sold directly) to test the stain but, as I'll explain in a moment, ultimately I was sorry I’d bothered with the black. Multiple coats of the blue would have created the effect I wanted and I’d have saved £5.


One thing I did copy from the videos was to insert a short-shanked screw hook in the place where the bottom strap button will go. When you come to staining and other body treatments it’s a great help. On the same subject, I took careful note of a comment by the luthier with the unusual skull tattoos who recommended very long screws for the strap buttons; evidently, he’s seen more than a few accidents caused by buttons coming loose on stage.
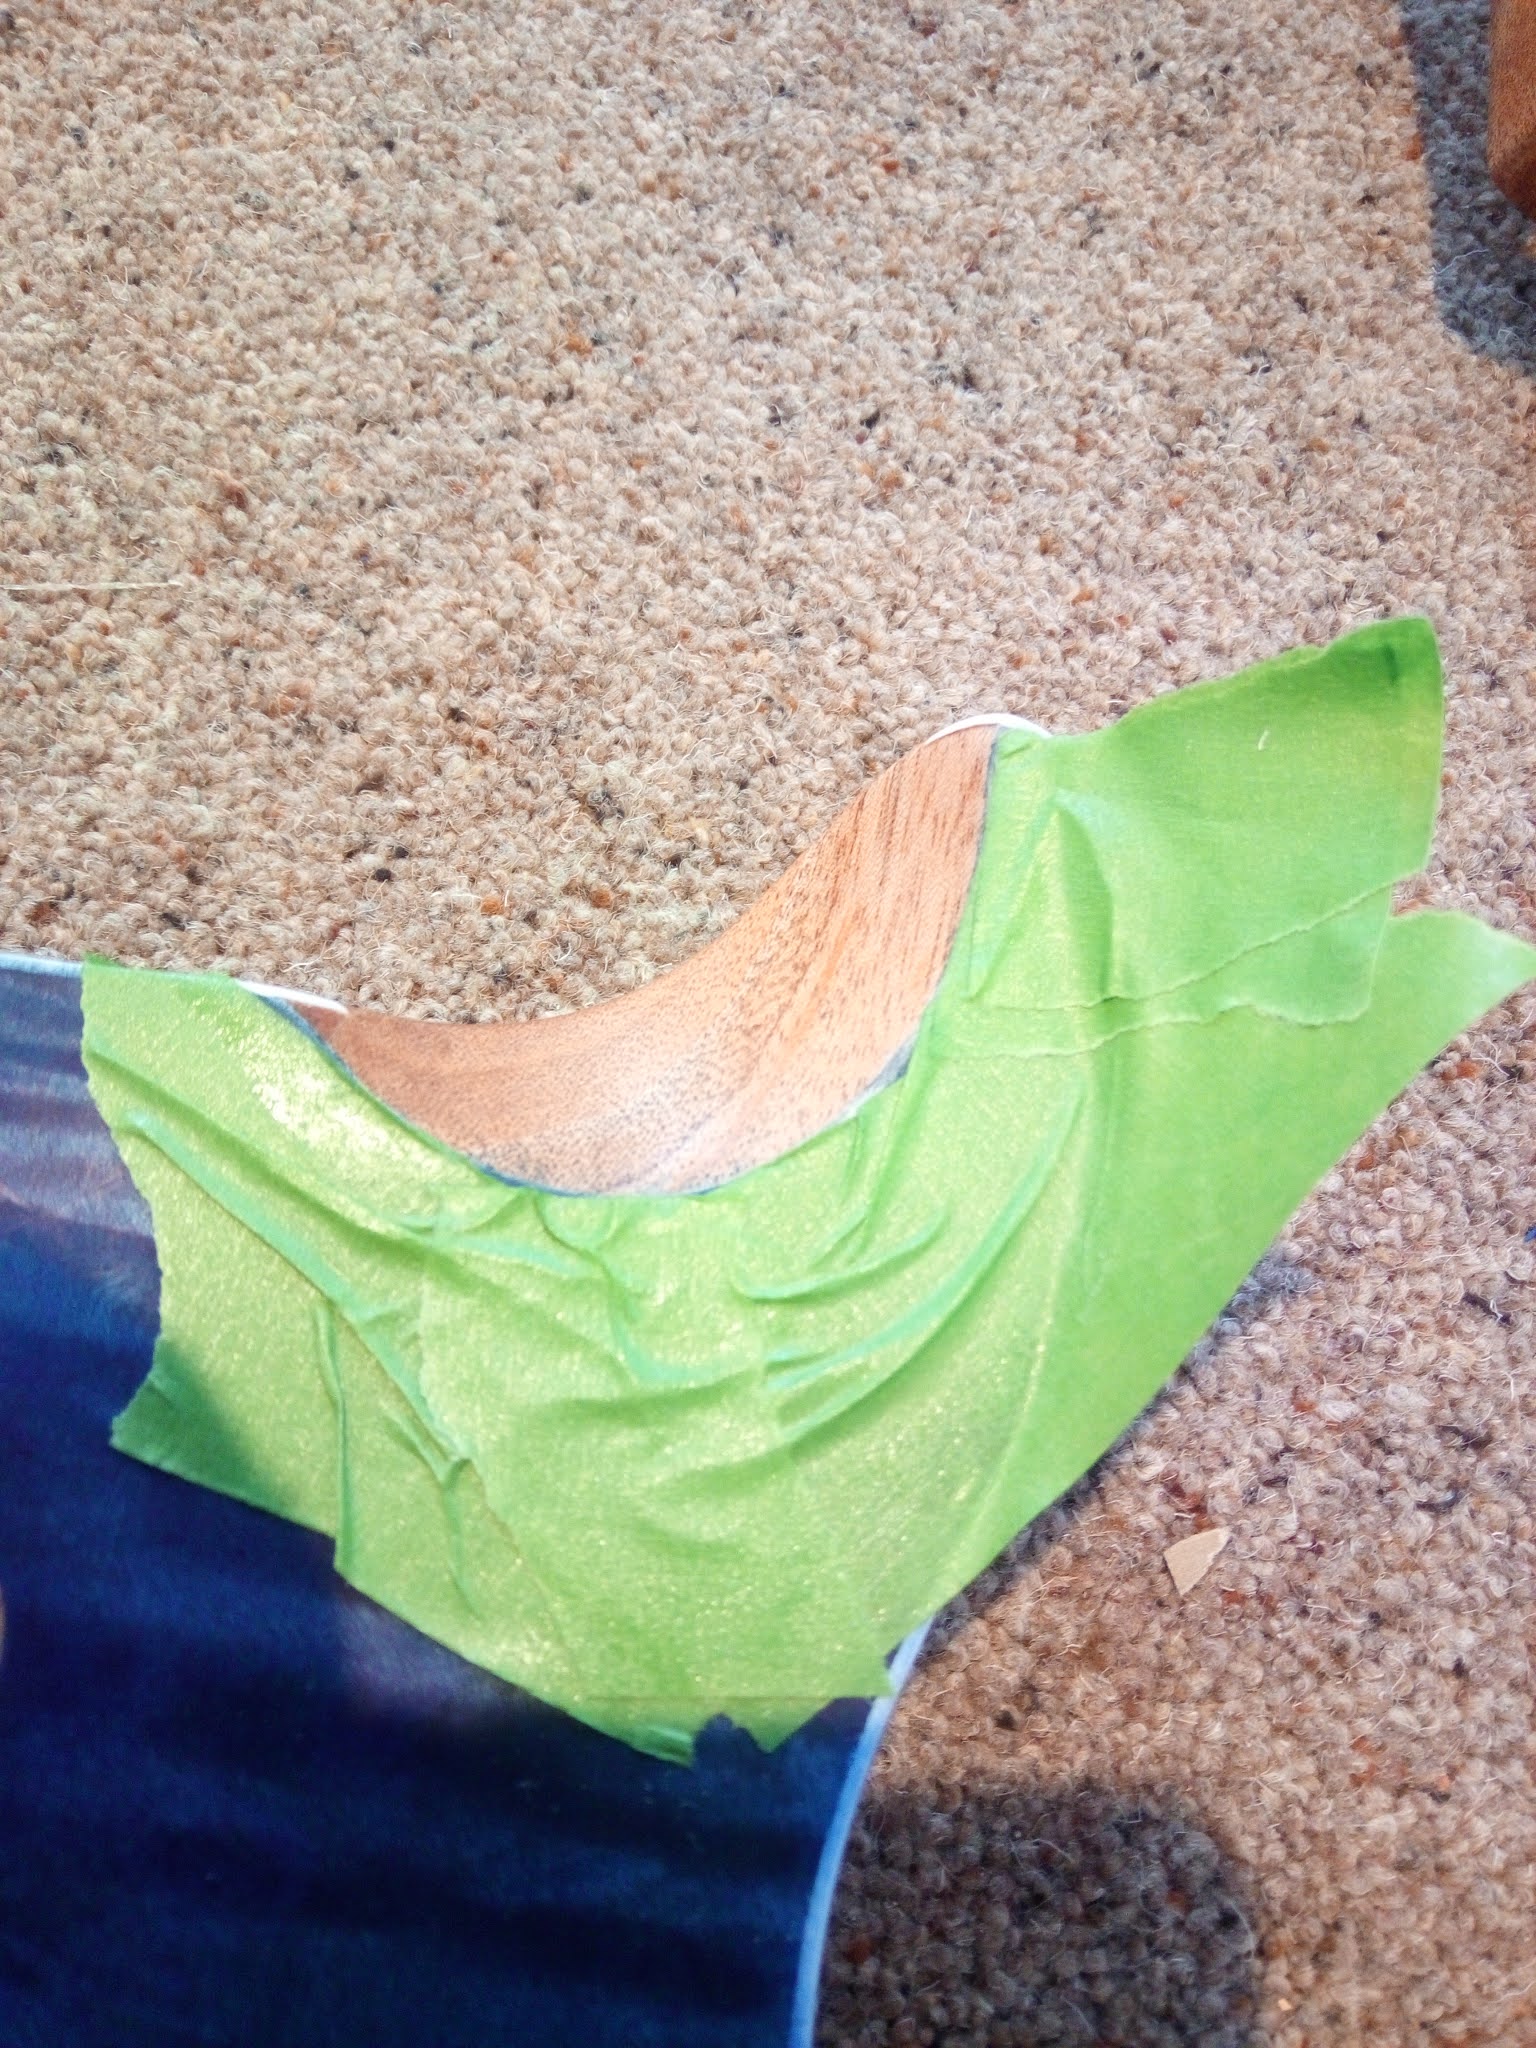
Another purchase I’d strongly recommend is some painter’s masking tape (£5 from Screwfix). Masking off places like the distinctive shoulder carving of the PRS model is vital.
In the end, I gave the veneered front of the body eight coats of stain. Many of the first were diluted and rubbed back when dry, but later ones were full strength.
I’d decided to use the Penetrating Guitar Oil on the sides and back of the body and the neck and headstock. I gave the parts two coats and rubbed down with 600 and 1200 grit paper when each was dry and rested overnight.

One final point. During the sanding of the neck I must have nudged the nut which fell off. A YouTube video I watched showed a guitar tech fixing a nut back on a guitar. He used just a small blob of super glue to hold the nut in position then restrung the guitar. This allowed the pressure of the strings to fasten the nut in position.
The reason he used just a small amount of super glue was to avoid damaging the neck or fretboard if a subsequent repair needed the nut removal.


No comments:
Post a Comment